Got (Too Much) Kale?
The harvest season is upon us! As the zucchinis, carrots, broccoli and other exciting vegetables mature, I can easily forget about the less interesting kale plants in my garden. (Not to mention, this time of year, I am up to my neck eating lettuces, mustards and all the other leafy greens I ambitiously planted early spring. And honestly, who has time or the palate for kale right now...?)
Kale is different
Regardless, I love kale, and it always has a spot in my garden. Kale is different than other vegetables. It's patient and easy! I can let it sit on the side, as a patient observer watching me manically harvest salad greens, summer squash and the many other vegetables that will go bad if not harvested.
I grow kale because it is fairly low maintenance, tough as nails, and most importantly, I can freeze it for later. I enjoy eating it later--when the snow flies and there is nothing green growing anywhere. I eat it later, when I feel heavy with winter squashes, potatoes and root vegetables and crave those chewy nutrient-rich greens!
Quick and easy blanching
Before you freeze kale, you must blanch it first. Blanching is a cooking process where it is cooked briefly in boiling water, and then plunged in or under cold water to stop the cooking process. It's main purpose is to inactivate enzymes that cause browning, textural changes and off-flavors. Blanching preserves color, flavor, nutritional value, and is a necessary pre-treatment for freezing a lot of vegetables.
The best part about blanching is it's one of the quickest and easiest ways to preserve food! I blanched and packaged one giant armload of kale in 30 minutes and was all cleaned up in under an hour. Also there are is no seasoning added, so the kale stays simple and easy to add to any of your favorite dishes.
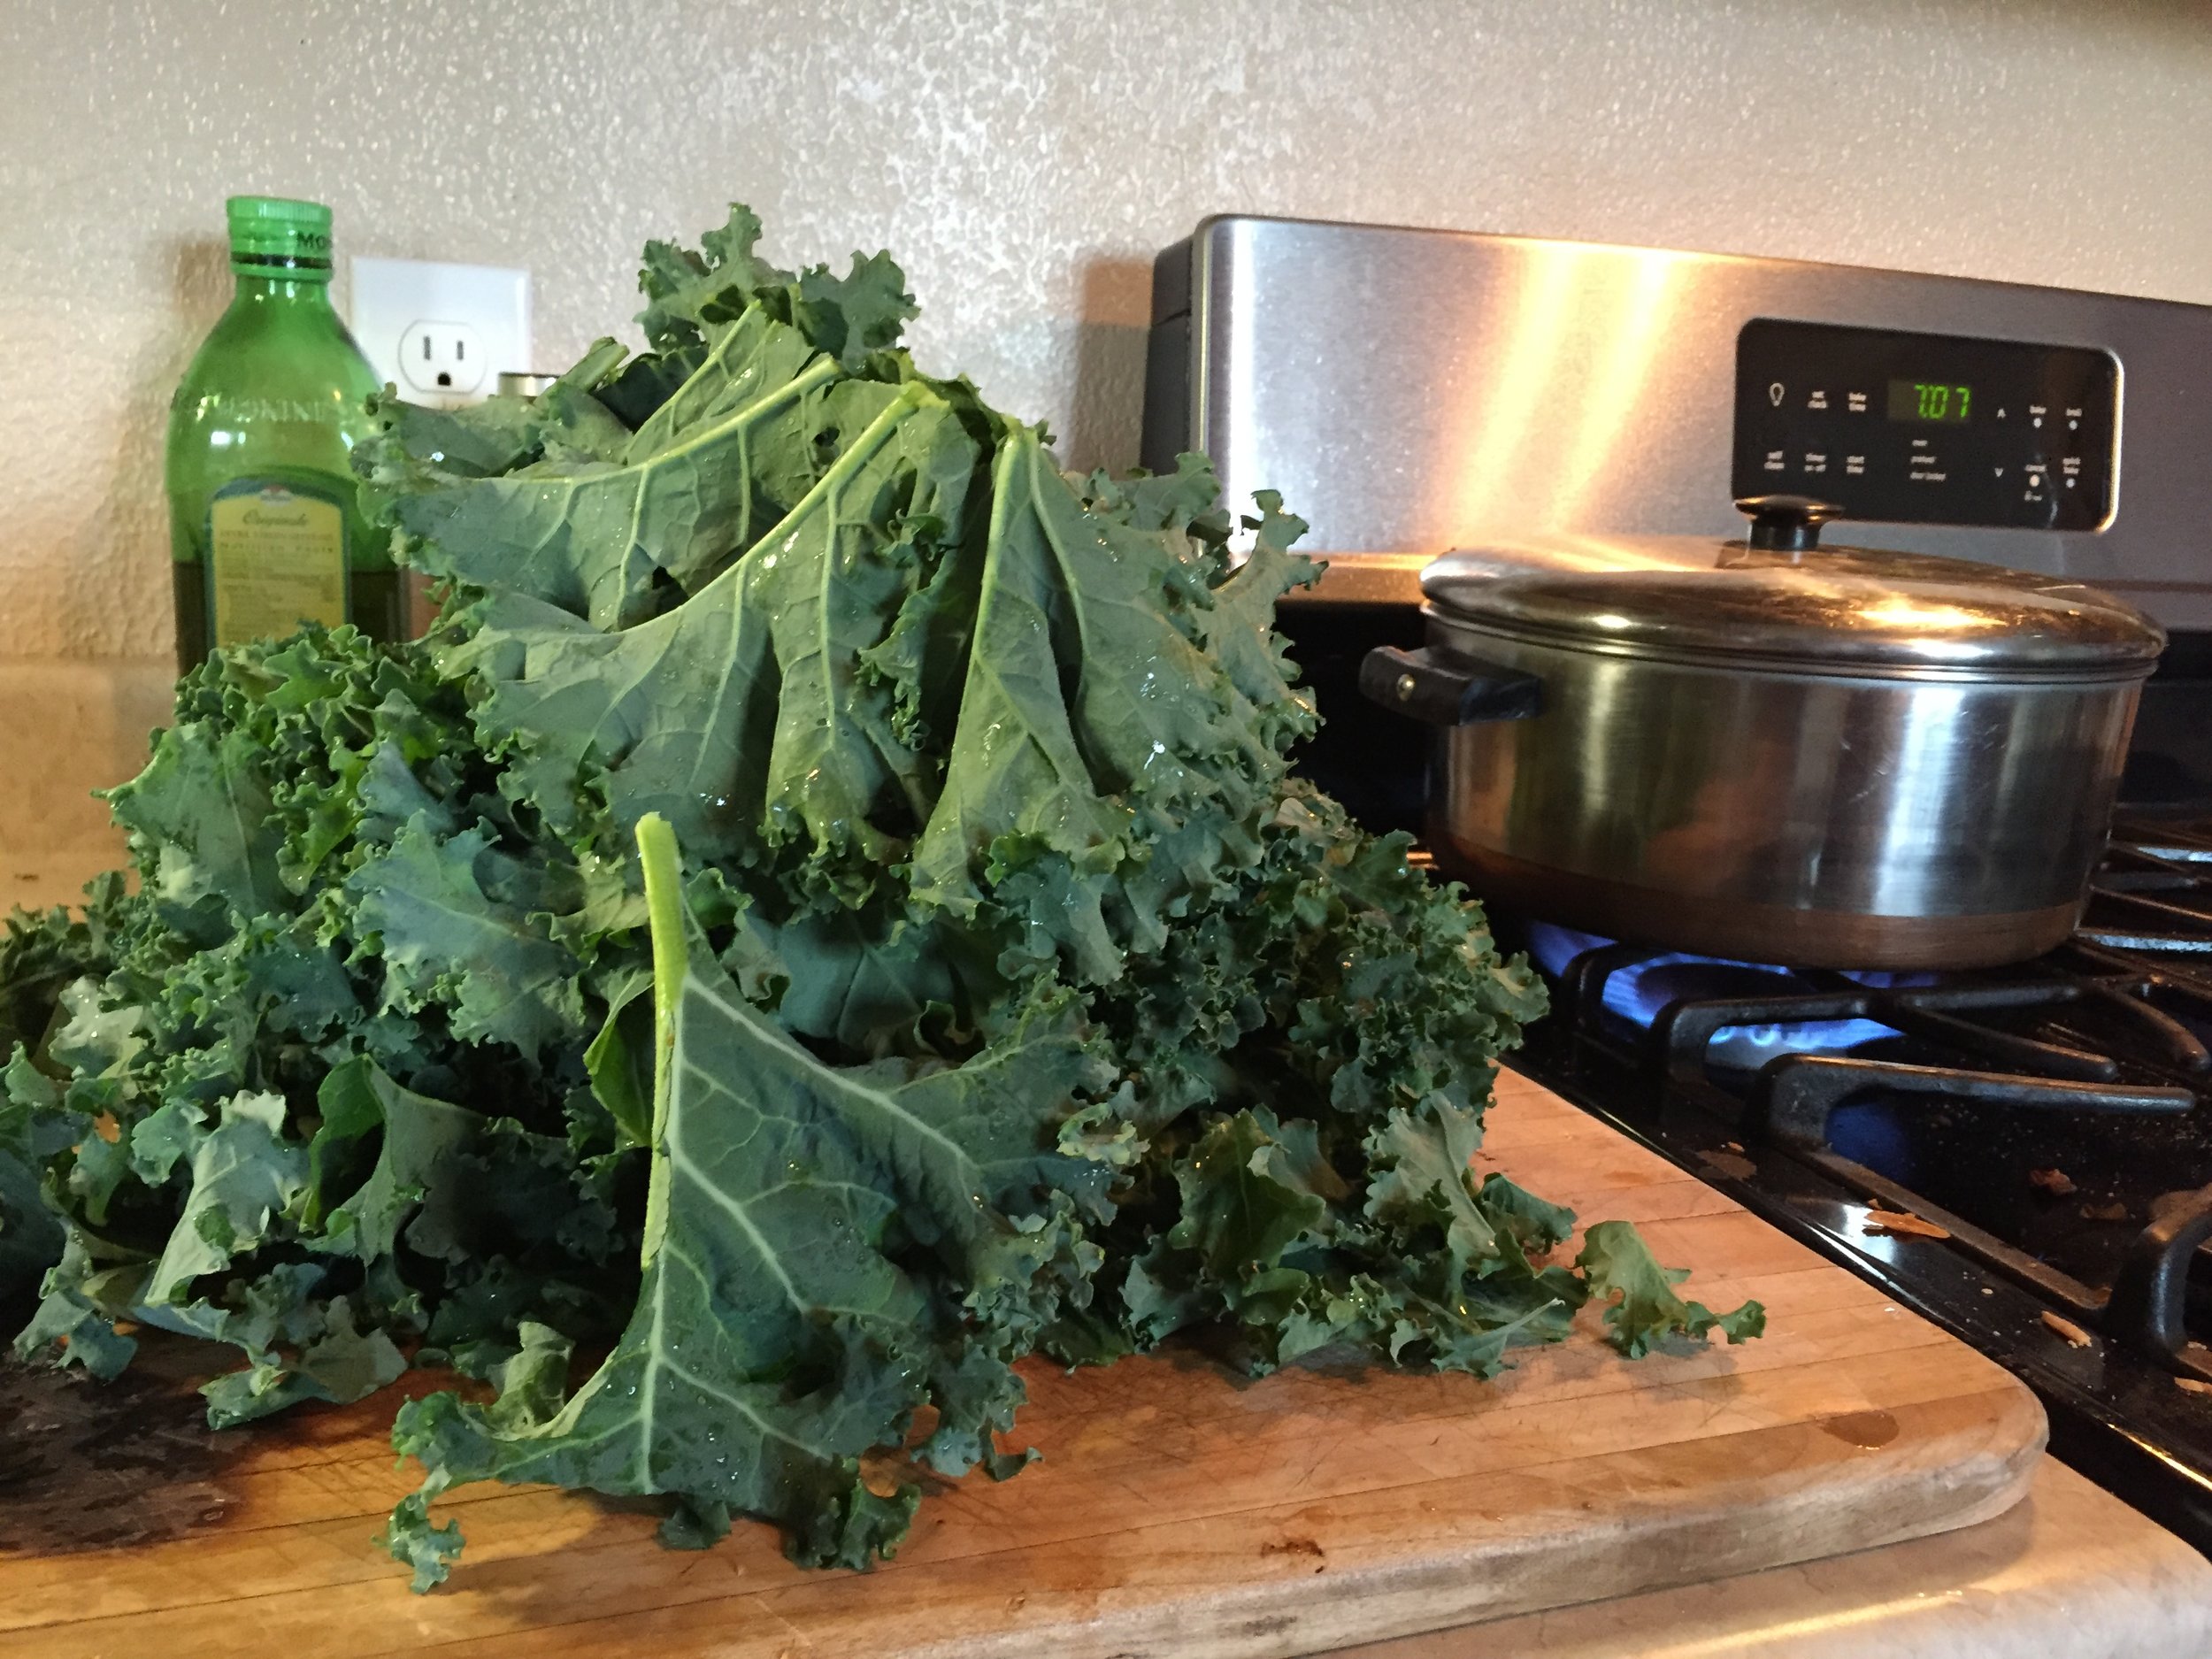
Follow my steps below to blanch and freeze your own kale for winter soups, stews, casseroles, quiches, or side. Keep in mind that all of your kale leaves may not fit in your pot at once, and you will probably need to do more than one batch. BUT, you can just reuse the water! Also, try not to over-pack your pot--the leaves should be able to float around a little and equally cook on all sides.
1. Start boiling a big pot of water
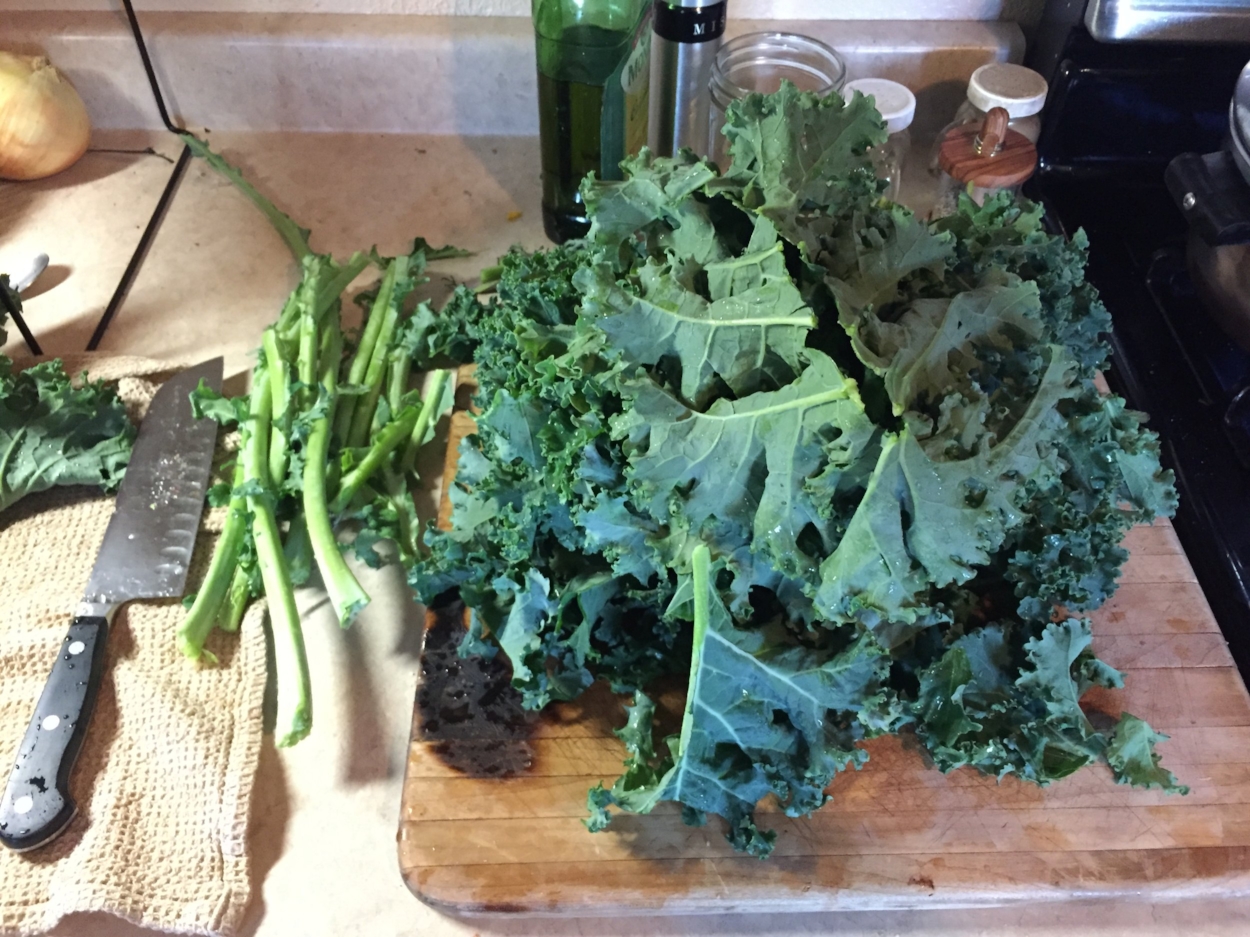
2. Separate the leaves from the stems
You can blanch the stems too, just do it seperately since it will require a longer cooking time.
3. Add kale leaves to boiling water and cook for 1 - 3 minutes
Stir and push down the leaves, so all of them are submerged. This is a quick cooking process--stay attentive! Leaves will turn a bright, healthy green when done.
4. Once the leaves turn bright green, immediately remove them from the pot and place in cold water.
I fill my sink with iced water, but you can also use a big bowl if you prefer. Submerge the kale into the cold water to halt the cooking process. Use your hand or a spoon to mix the leaves around so all leaves cool down and stop cooking. (After a couple rounds of adding hot kale leaves, you may need to refresh your cold water by adding more ice cubes.)
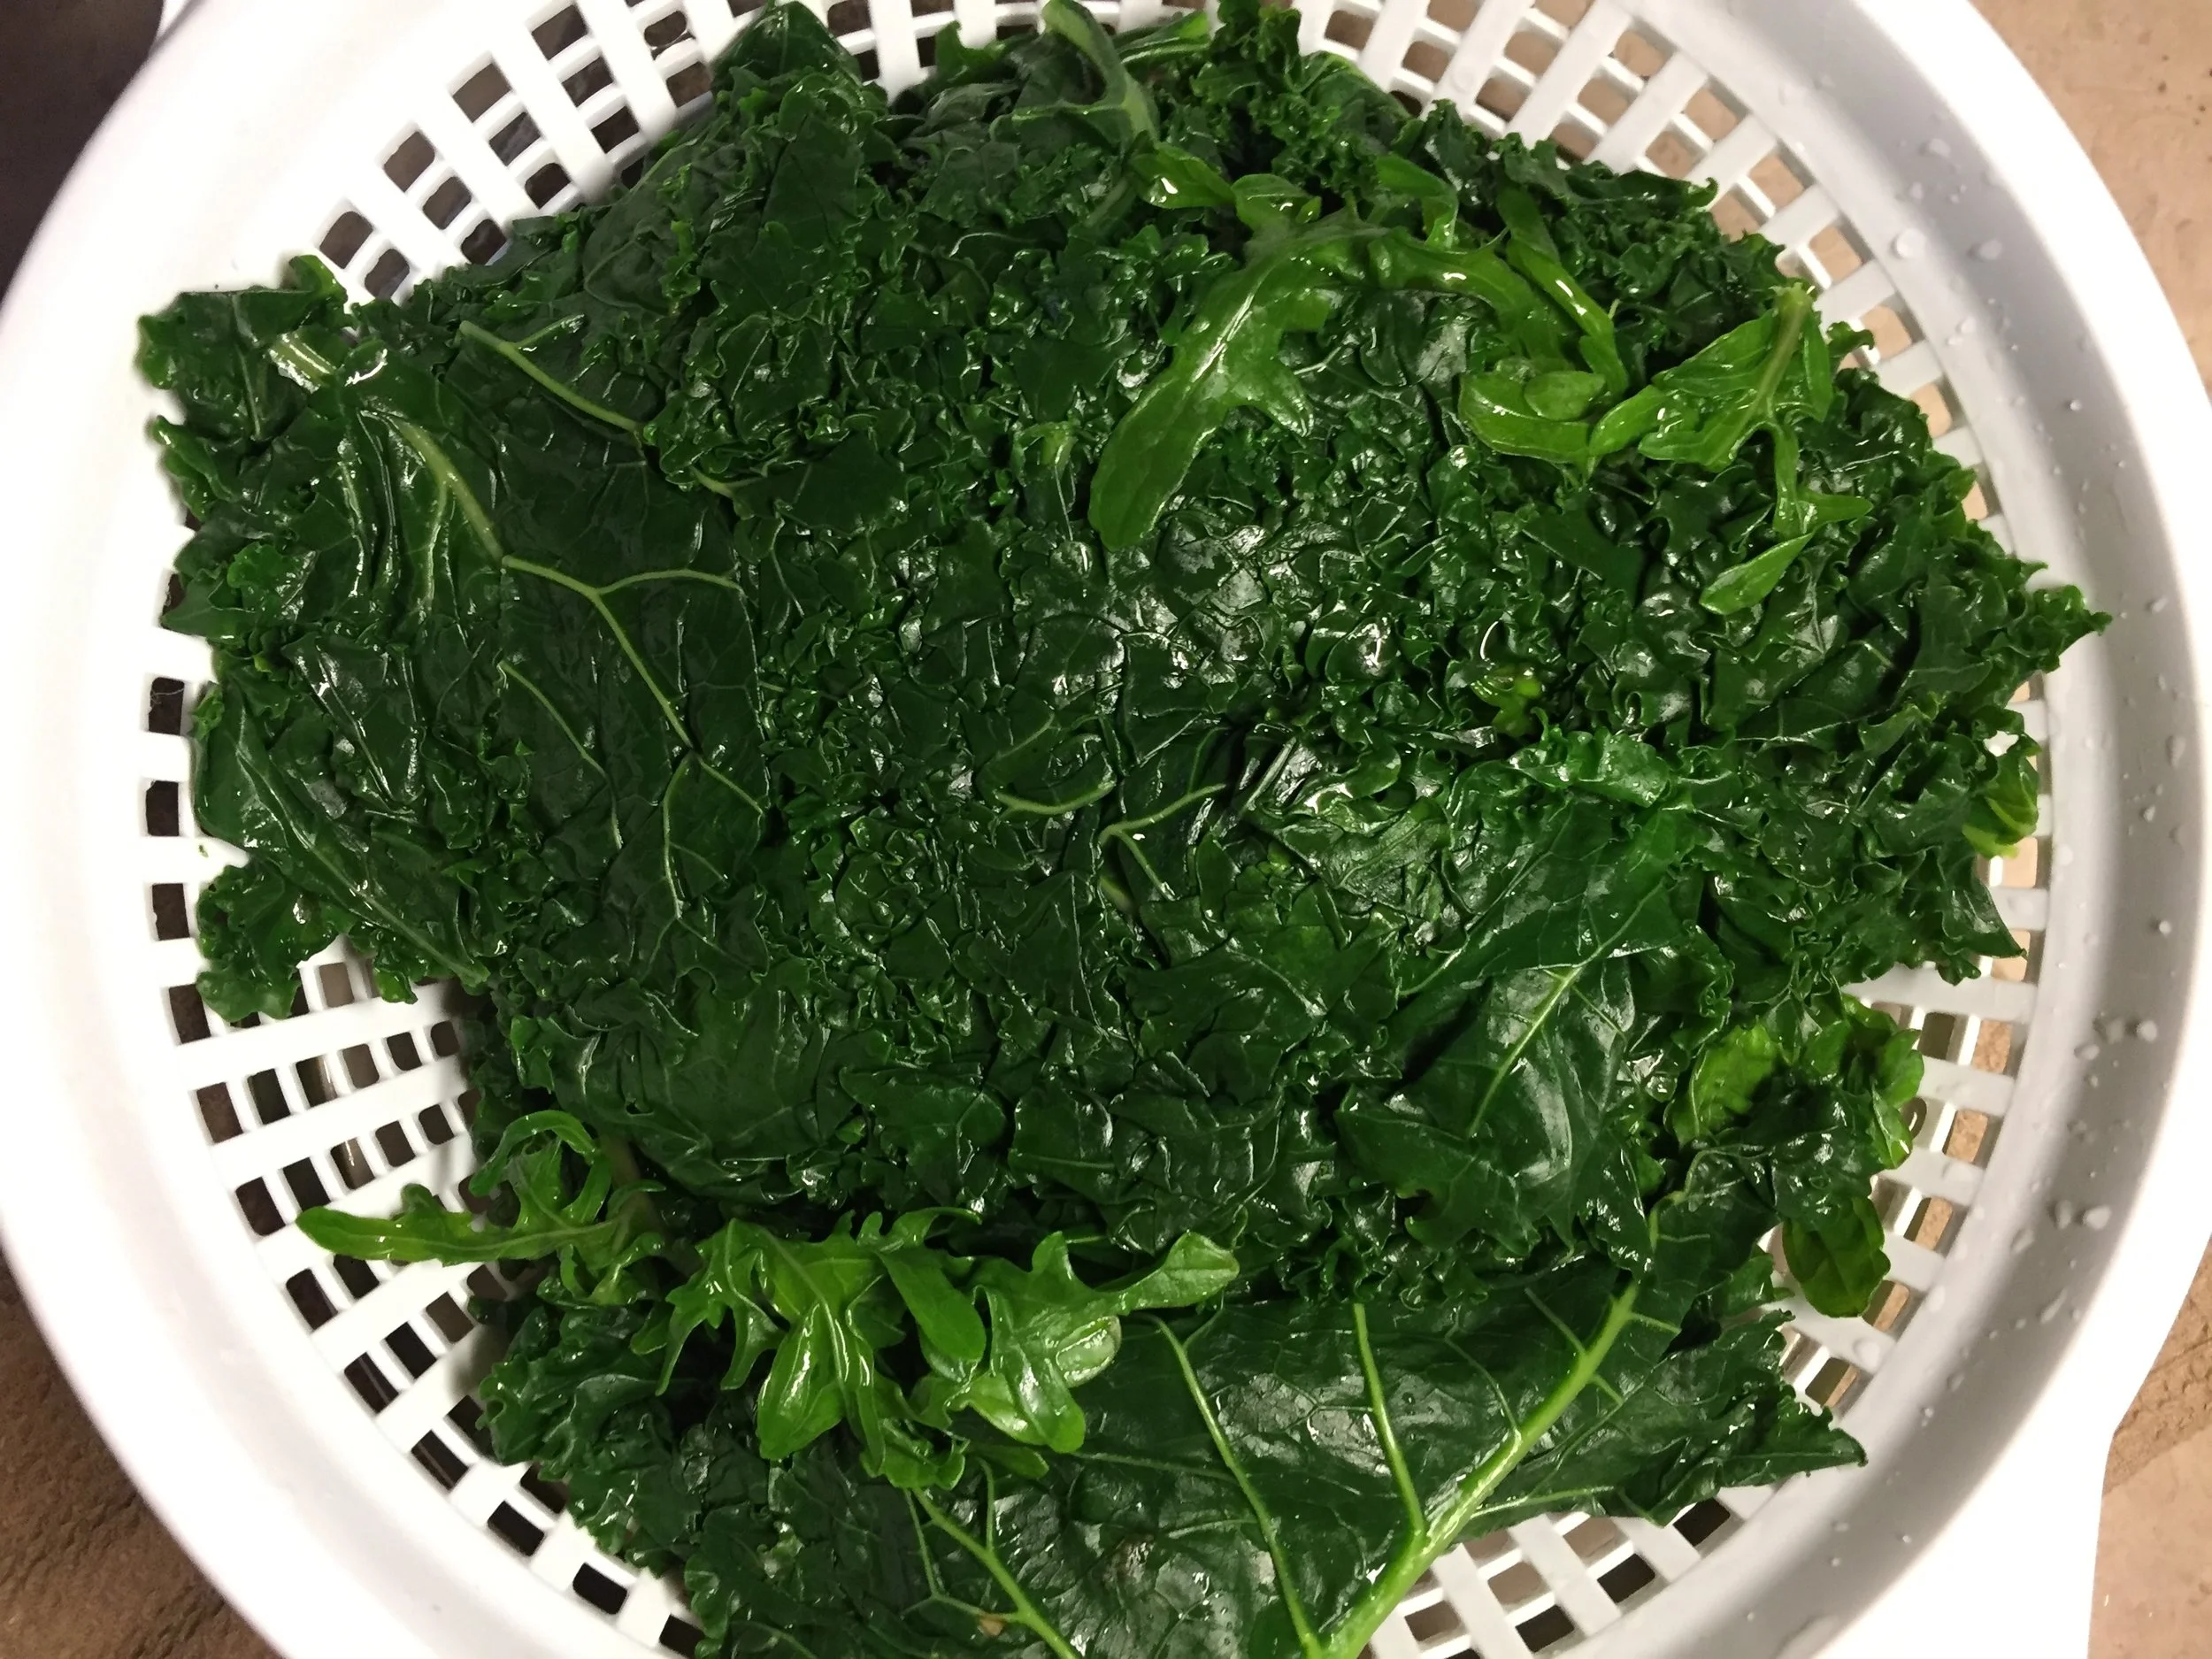
5. Remove kale from cold water bath and drain in colander
Press all the water out of the leaves.
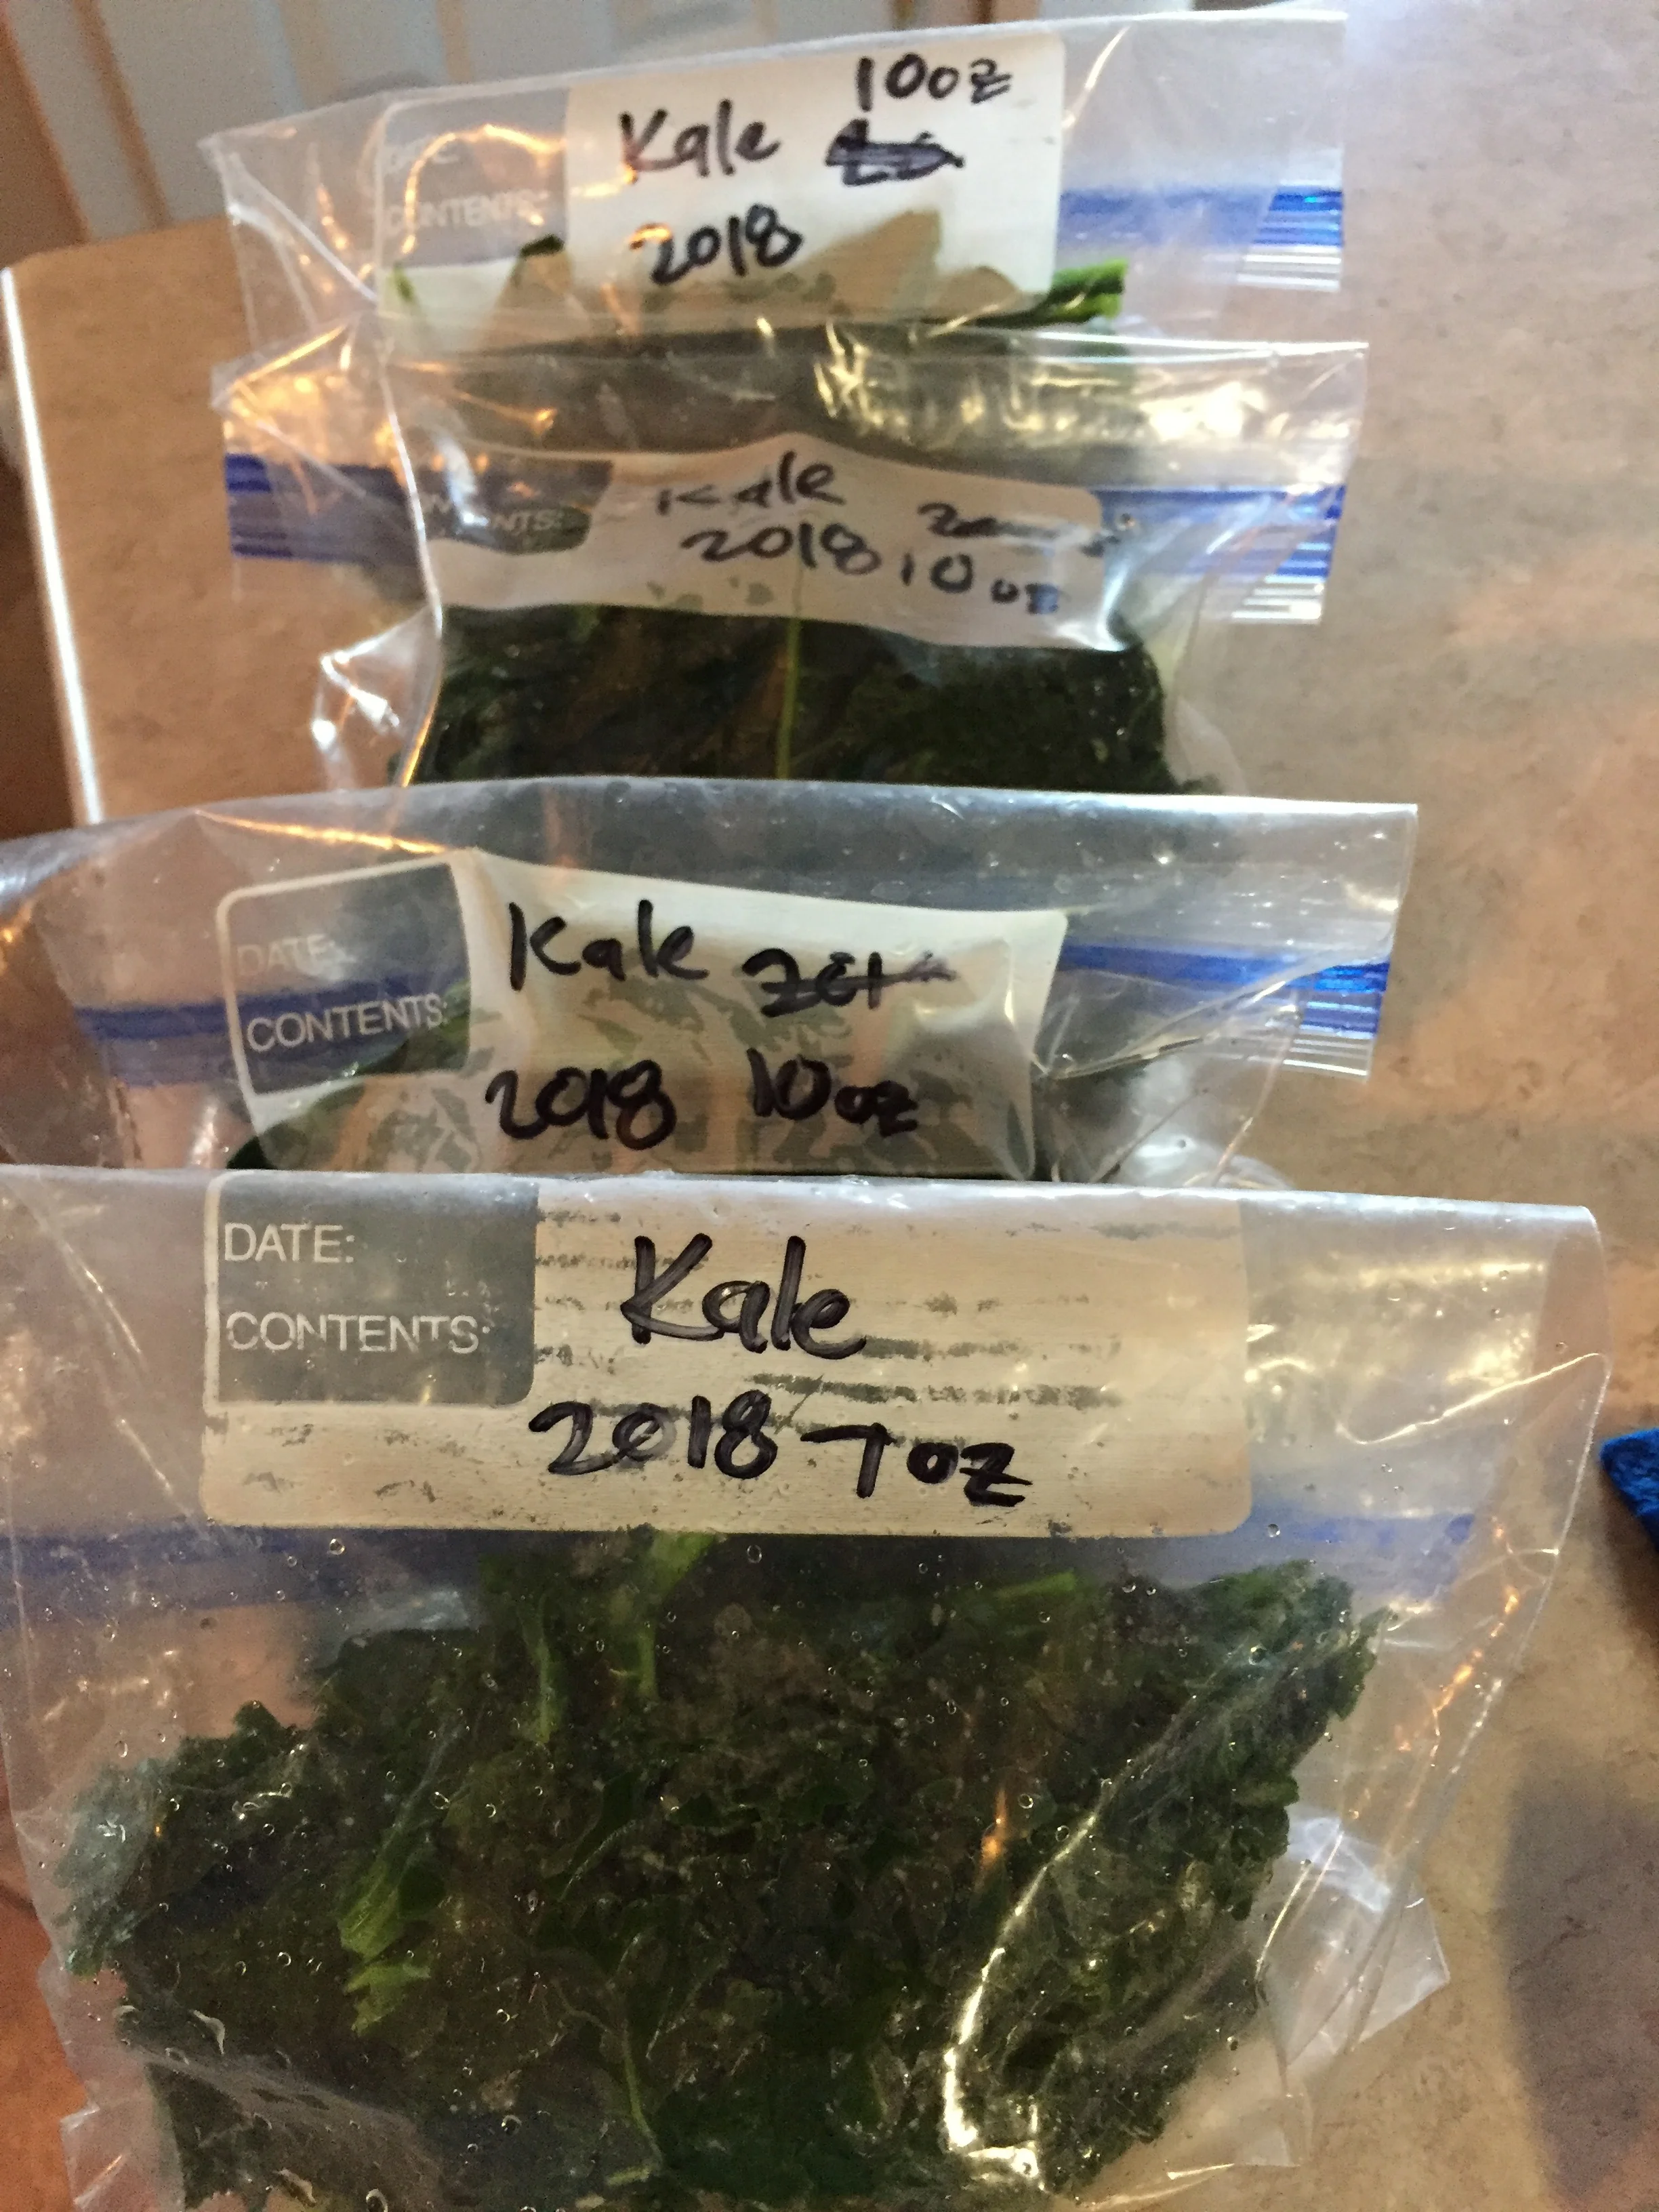
6. Place in a plastic freezer bag, label and freeze.
I find it best to separate and freeze the kale into meal-sized portions.


