How to Save Tomato Seeds
The first cold weather snaps of the fall bring our long and lustrous tomato season to a close, but, there’s still time to save the seeds of your favorite tomato to grow next year! The great thing about tomatoes is that each fruit comes with tons of seeds, and they’re actually pretty easy to save. Even your favorite tomato from your favorite farmer can be saved and then grown in your own garden next year.
PSA about Tomato Varieties
When saving tomato seed, make sure the parent plant is an open-pollinated or heirloom variety. Hybrid varieties, like the popular Sungold, Early Girl, Celebrity and so many more, will most likely not produce a seedling with the same type of fruit as the parent plant. The color, shape, and flavor will be different. You can tell if a plant variety is a hybrid because “F1” will be included in the name, for example Sungold (F1). F1 means first generation when two distinct tomato varieties are cross-pollinated. Please note that this is very different than genetically modified seeds, which means the genetic material was altered in a laboratory instead of traditional cross-breeding techniques. Interestingly, hybridization can naturally occur with the help of wind, insects or animals that cause two related species to cross-pollinate. In agriculture, hybridization occurs when humans choose two varieties and transfer pollen with tweezers or brushes.
Saving tomato seed is easy as 1-2-3...and 4.


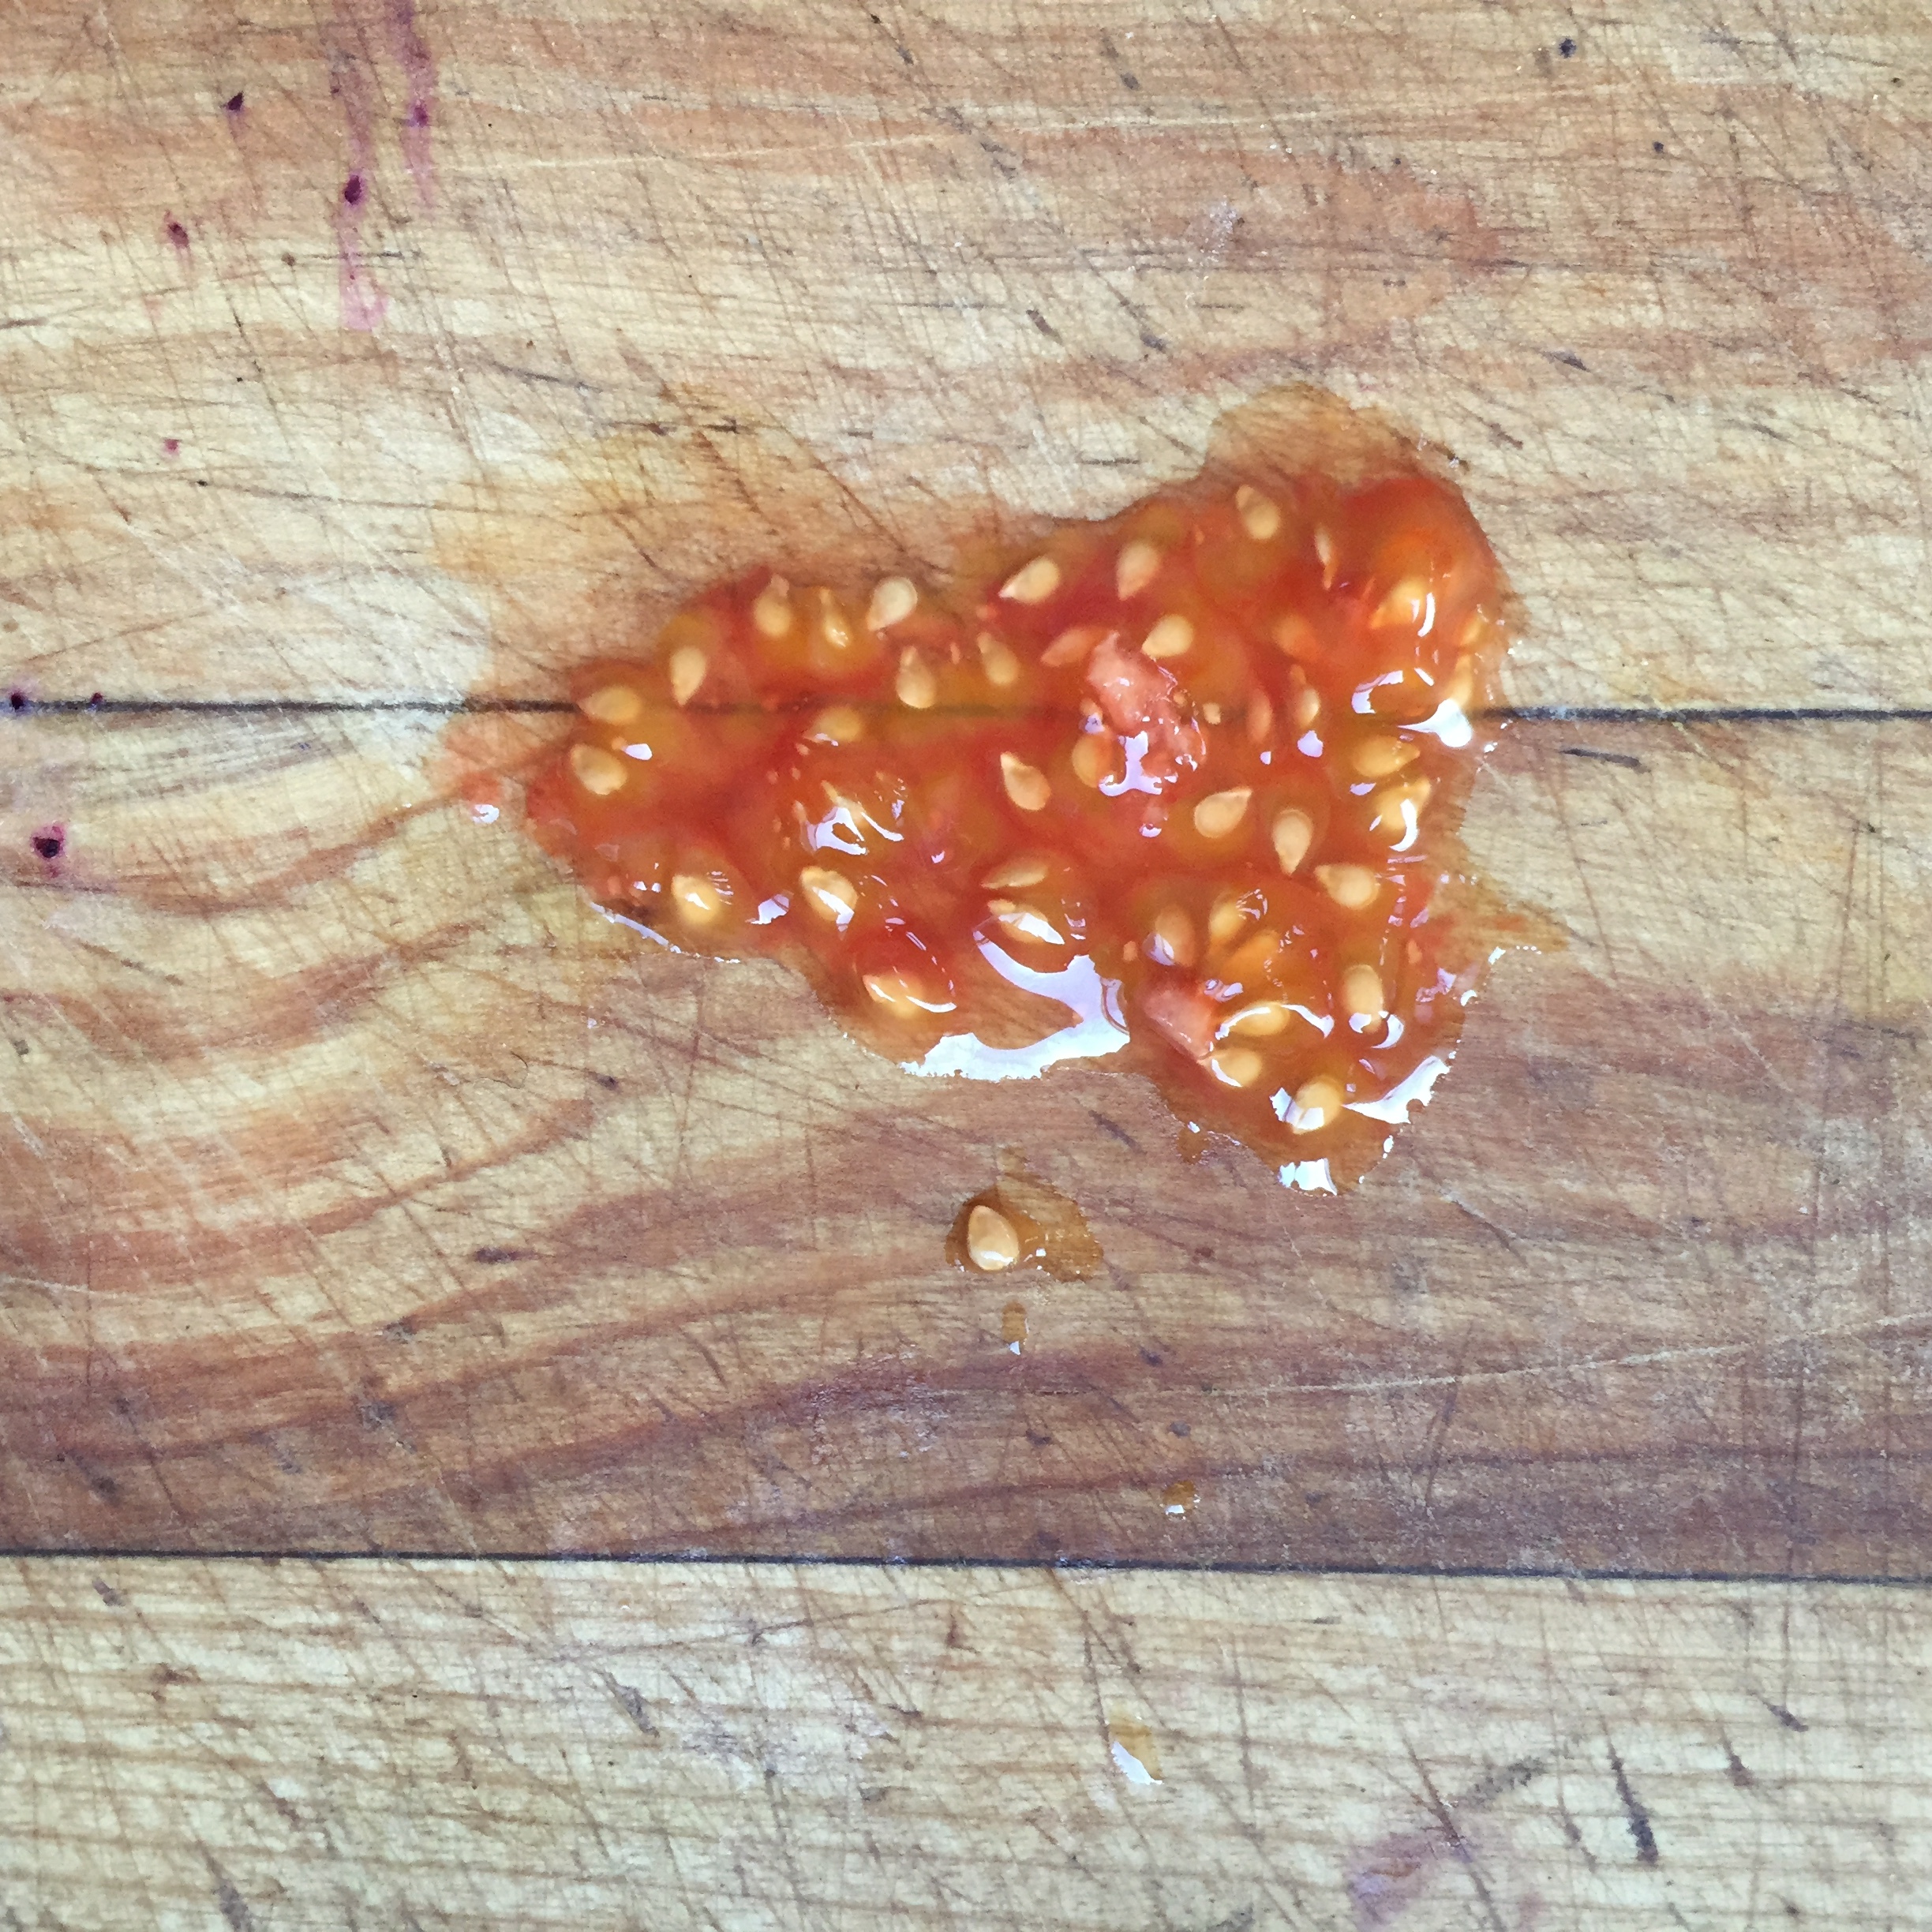
1. Scrape out the seeds from the juicy tomato and place in a small clear jar or cup. Each tomato seed is enclosed in a gelatinous sac, but don’t worry about removing that from the seed. It will come off naturally later in this seed-saving process.
Fun fact: Did you know that the gel contains chemicals that inhibit germination until the seeds have a chance to glue themselves into soil crevices. This brilliant plan works great in nature, but the gel residue can be a problem for stored seeds because it can provide a safe haven for seed- and soil-borne diseases.
2. Fill the cup with an inch or so of water, so all seeds are submerged. Secure a paper towel over the lid of the jar with tape or a rubber band, so air can pass through but nothing else can fall in.
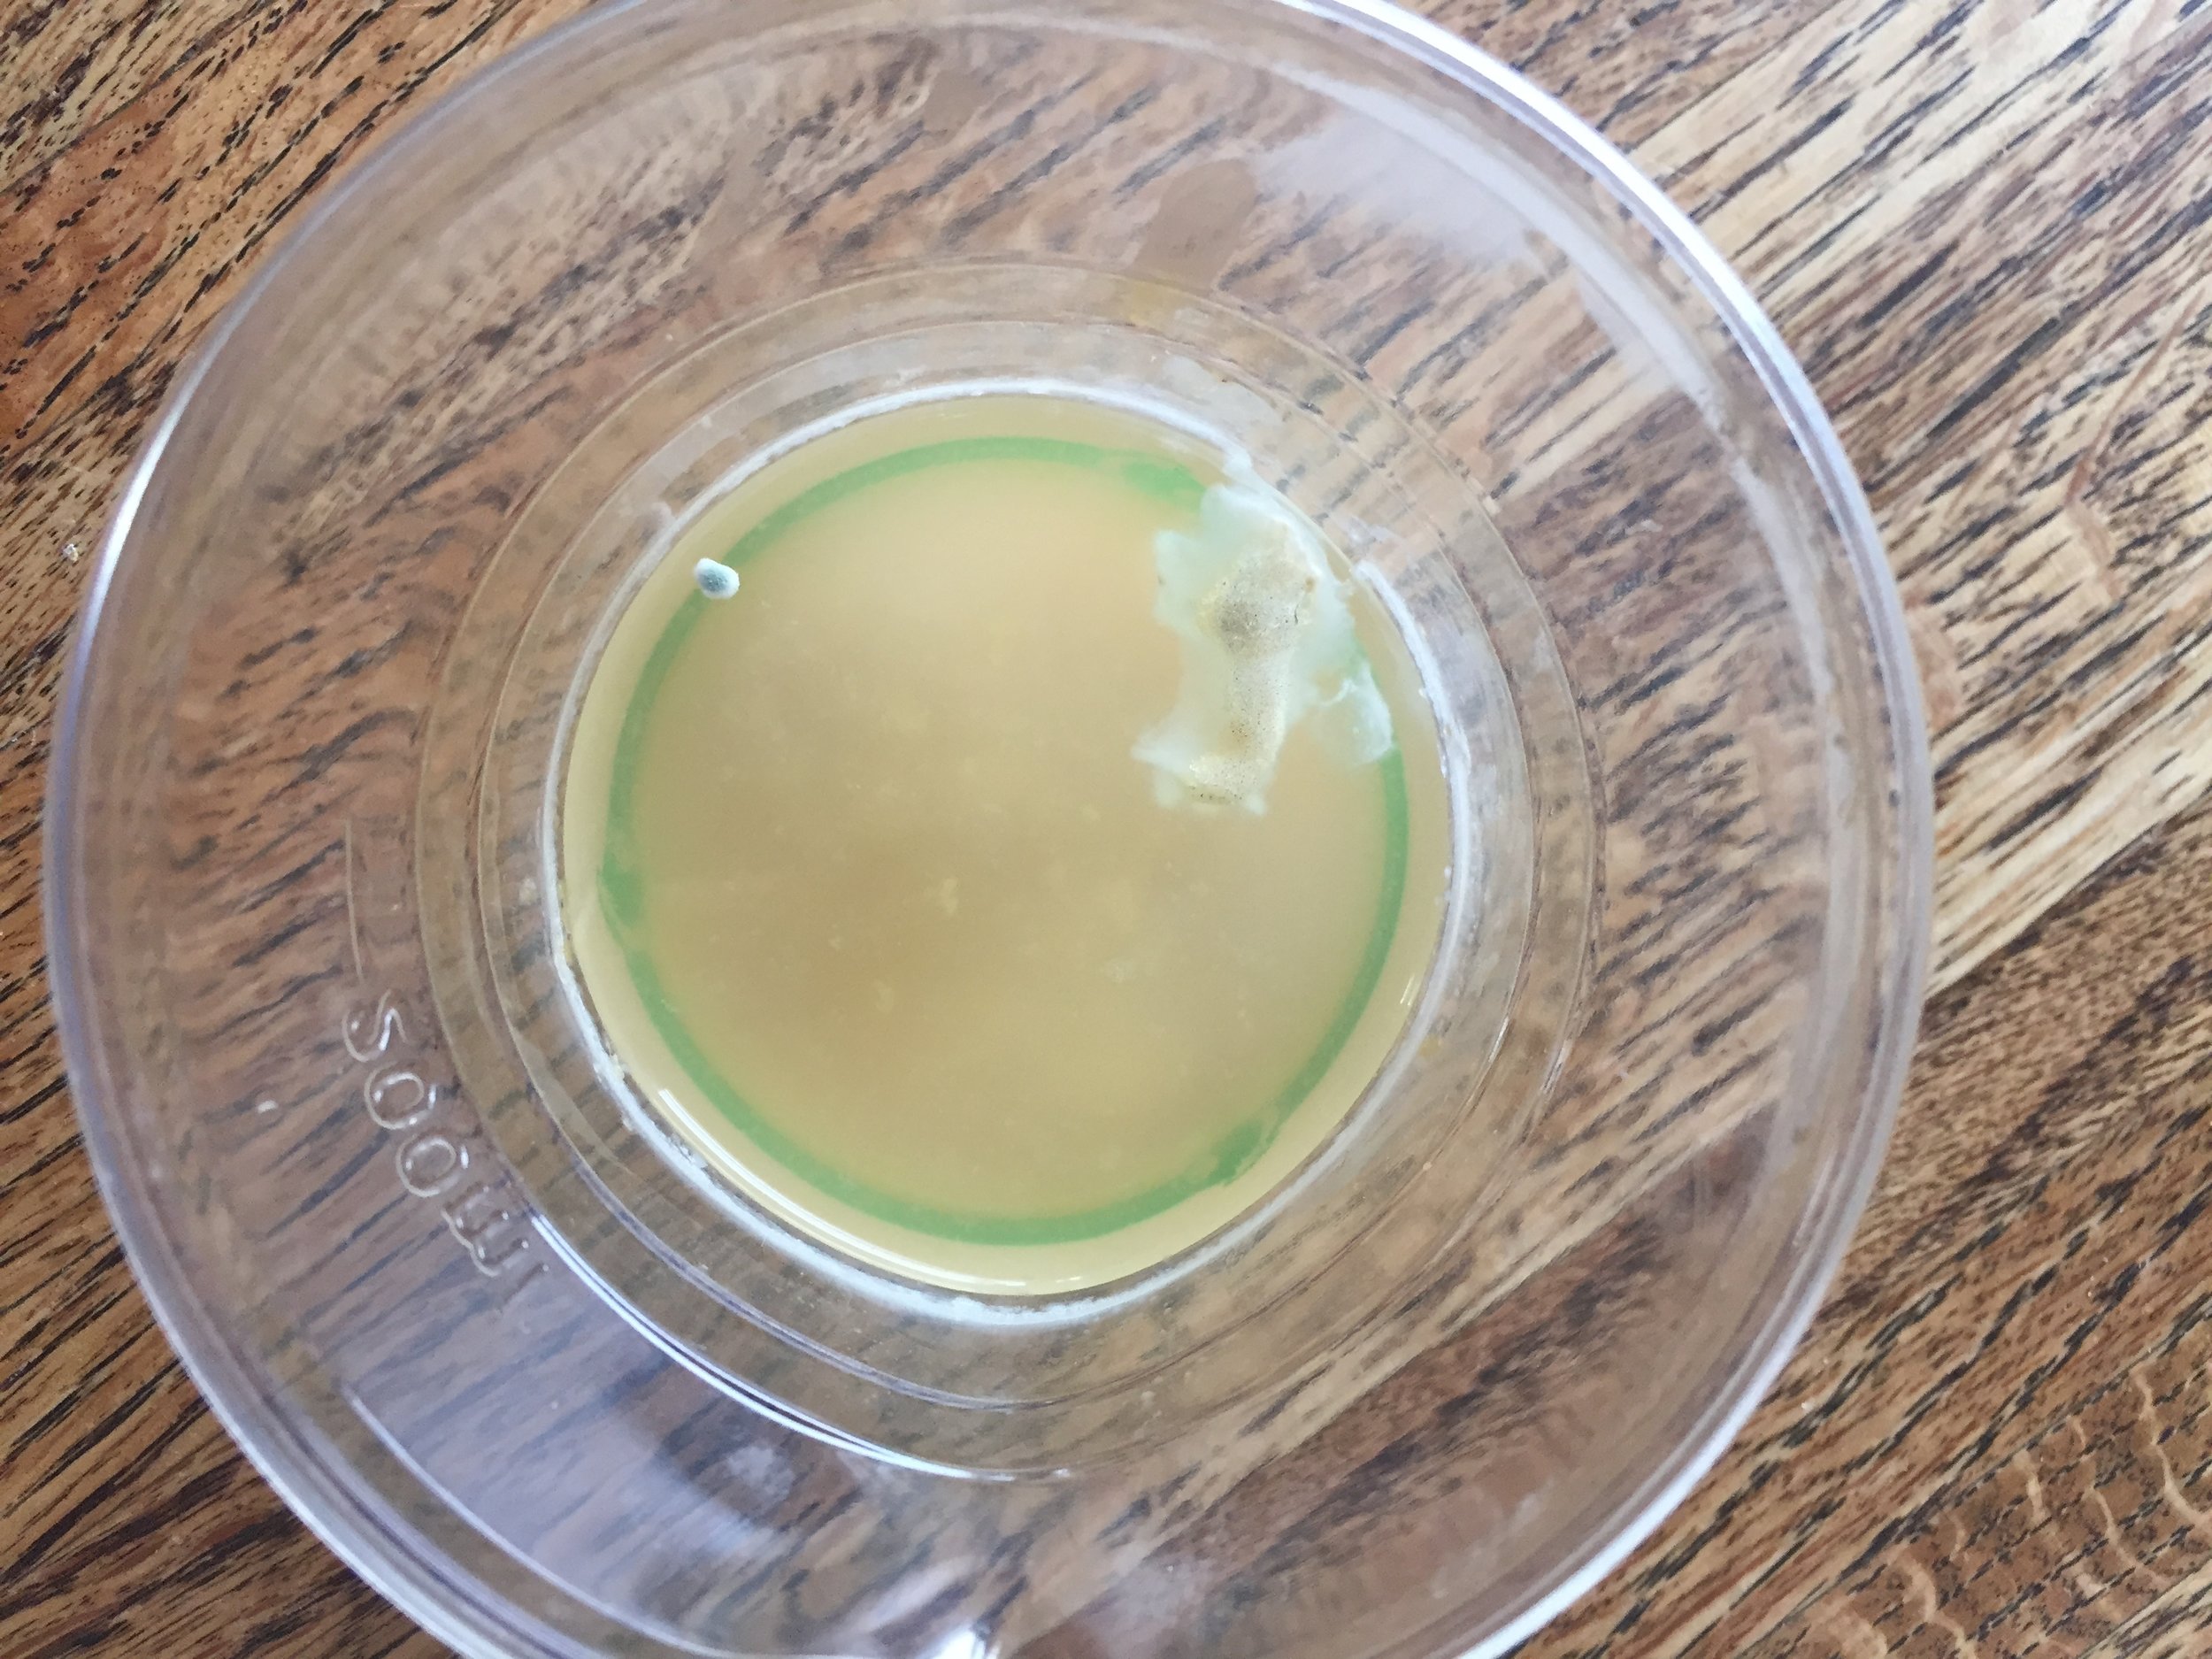
3. Let ferment. (This process cleans the gel off of the seeds and mimics the natural fermentation of overripe tomatoes that fall on the ground and germinate next year.) I usually wait about a week or until a white scum forms on the surface of the water, but if it's warm out, the fermentation process can happen faster. Likewise, if it's cold in your house, it might take a little longer for the white scum to form.
4. Drain the fermented tomato water slurry and spread the seeds out on a paper towel or paper bag. Label your seeds so you can remember what you’ve kept, and place in a safe space to dry. Once completely dry (usually a couple days), place in a labeled envelope, store in a cool dry place, and start your seeds indoors next February.
For information on growing tomatoes in Montana, follow this link.

